Plan the layout first
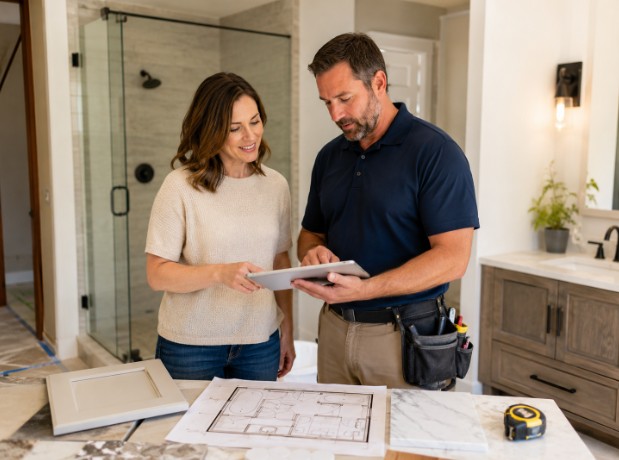
Measure the full area, mark centre guide lines, then dry-lay a row with spacers to see where the cuts land. Shift the starting point until the border tiles come out roughly equal, so you are not left with slivers along one wall.
Prepare the surface
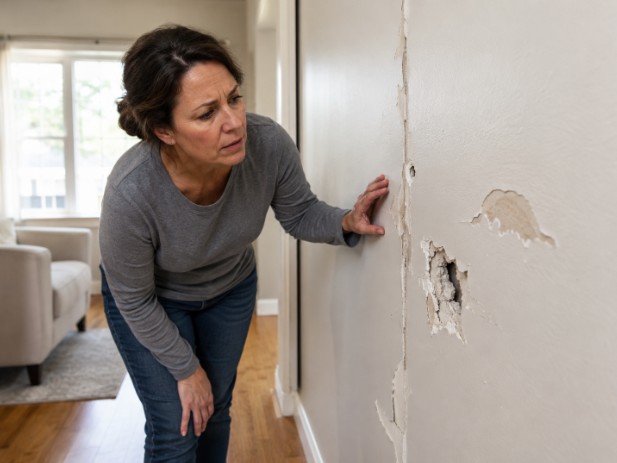
The base must be clean, dry, firm and level. Remove dust, grease, old adhesive and loose paint, patch cracks and holes, and correct high and low spots. Tile will not hide an uneven substrate; it will crack over one.
Use the right tools
Tape measure, chalk line, notched trowel, spacers, a cutter or wet saw, a rubber float, a level, buckets and sponges, glasses and gloves. Match the trowel notch to the tile size.
Apply mortar with care
Mix to the instructions and let it slake where the product calls for it. Too dry and it will not bond, too wet and tiles sink and shift. Spread only what you can cover before it skins over, hold the trowel at a steady angle, and comb in one direction. Back-butter large tiles and check your coverage regularly.
Keep the lines even
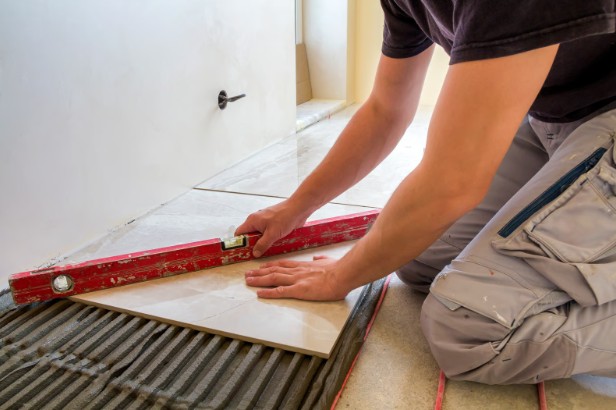
Set each tile with a light twisting press, use spacers, and keep checking against your guide lines and level. Clear the squeeze-out before it hardens and wipe with a damp sponge rather than a soaked one. Levelling clips reduce lippage but they will not rescue a bad base.
Cut cleanly
Measure twice, allow for the grout joint, use a manual cutter for straight cuts and a wet saw or nippers for curves. Hide cut edges near walls and trim.
Finish with grout
Let the mortar cure, pull the spacers, clear the joints, then force grout in with the float, strike off the excess and wipe once it starts to set. Use flexible sealant rather than grout at changes of plane, at wall corners, tub edges and countertop joints.